If you don’t live in the inspection codes or work in the inspection world like InServe Mechanical Integrity Group does, the numbers and acronyms associated with inspection services can start to run together. NDE/NDT inspection involves a broad spectrum of testing and inspection for an incredibly wide range of material types. That being said, here we’re going to provide a broad overview that is easy to understand.
WHAT IS NDE/NDT INSPECTION?
NDE means nondestructive examination, while NDT stands for nondestructive testing. We conduct an NDE/NDT Inspection when something needs to be tested for safety, consistency, reliability, or other issues without being damaged by the testing process. This type of testing and inspection can also be used to detect flaws or defects during the fabrication of new equipment, as well as locating, identifying, and quantifying existing or process-related damage mechanisms.
Sometimes people use the two terms interchangeably or lumped together because they’re closely related. NDT is the broad term for all the different types of testing available, while NDE measurements are more specific and quantitative.
It sounds highly technical (and it is), but the bottom line is, NDE/NDT inspection keeps planes from falling out of the sky, vehicles from causing fatal accidents, pipelines from bursting, bridges from collapsing, and refineries from experiencing critical failures.
NDE/NDT INSPECTION BENEFITS
Nondestructive testing applies to all stages of an item’s construction and use. When a facility performs new production welds, weld repairs, or even mechanically removes metal from their equipment, testing is required to ensure the integrity of their equipment has not been compromised in the process.
There are many forms of Non-Destructive Testing that can be utilized to ensure your equipment is free of defects and complies with code minimum requirements. We offer a wide variety of solutions to achieve code and environmental compliance. The broad group of analysis techniques provides these benefits:
- Accident prevention
- Quality control
- Cost optimization
- Improved reliability
- Repair diagnostics
- End of life planning and scheduling
NDE/NDT INSPECTION SERVICE TYPES WE OFFER
Our NDE/NDT technicians are certified to the highest industry standards like NRCan-NDTCB, ASNT, API QUTE & QUSA. They are knowledgeable in their craft and provide customized solutions for your NDE/NDT challenges. Our rates are competitive throughout the industry and our second to none customer service will be there to support through the entire process. Here are just some of the services we offer:
MAGNETIC PARTICLE TESTING (MT)
Magnetic particle testing (MT) is used to detect flaws or defects on the surface and slightly subsurface of most ferromagnetic materials. Some of the types of materials that can be tested are iron, cobalt, steel alloys, and nickel. MT uses iron particles coated with dye pigment to aid in the identification of defects. These particles are sprayed on the test component and then the test material is magnetized. When the material is magnetized, any surface flaws or defects will interfere with the magnetic field and reveal the location of the defect. Wet Fluorescent Magnetic Particle Testing (WFMT) can offer more sensitivity and produce better results in certain circumstances. Let our team of specialists recommend the best solution for your situation.
DYE PENETRANT TESTING (PT)
Liquid penetrant testing (PT) is commonly referred to as dye penetrant testing or inspection. This simple form of non-destructive examination (NDE) is used to examine the integrity of new welds and base metal, it is easy to perform and is mostly used due to being a cost-effective solution. One of the benefits of PT is that it can be utilized on virtually any type of material. PT can be used to detect surface flaws that may not be detectible by the human eye; however, it is not capable of identifying subsurface defects. The surface area is prepped clean and a fluorescent dye is applied directly to the area of concern. This fluorescent dye is drawn into any surface defects or flaws by “capillary action”. A developer is used to give a contrasting background and draw out the dye revealing the surface flaws. There are different types of dyes that can be utilized depending on the situation. Let our team of specialists recommend the best solution for your situation.
ULTRASONIC THICKNESS TESTING (UTT)
The use of high-frequency sound energy is found in multiple domains such as healthcare’s ultrasonic imaging and the navigation systems (sonars). No surprise that the inspection world repurposed the method to have a better understanding of the equipment they are inspecting. A transducer, once in contact with the part to inspect, will send a pulse and receive a reflected wave signal. The signal waves are then analyzed and converted into a measurement representing the distance the signal traveled in the test specimen. Ultrasonic Thickness Testing is therefore a method of choice to determine the remaining thickness of a component. Since it is relatively easy to reproduce the measurement, an inspector can assess equipment over time to evaluate the corrosion rate. [1]
[1] https://www.nde-ed.org/EducationResources/CommunityCollege/Ultrasonics/Introduction/description.htm
Advantages
- Highly accurate and instantaneous results
- Minimum preparation required
- Sensitive to both surface and subsurface discontinuities
- Dept of penetration for measurement is superior to other NDT methods
Limitations
- Surface must be accessible to transmit ultrasound
- Skill and training are more extensive than other methods
- Require a coupling method to promote the transfer of sound energy
- Irregular material or limited in size are difficult to inspect
VISUAL TESTING (VT)
Visual inspection is one of the most common types of non-destructive inspection methods utilized in the industry. Visual Inspection techniques are cost effective as they do not require expensive equipment or set up time. When performing Visual Testing the inspector physically examines the area of interest. However, different tools are used to enhance or supplement this inspection such as, borescopes, mirrors, weld & Pitt gauges, and illuminators. Code acceptance & reject criteria guides the examiner to properly evaluate what happens next. Let our team of specialists recommend the best solution for your situation.
.
PHASED ARRAY FLAW DETECTION (PAUT)
This advanced NDE Inspection method searches for and finds cracks and flaws. Inspectors also use it to inspect welds, measure thickness, and monitor for corrosion. We use phased array ultrasonic system probes to send pulses through material like a searchlight that highlights the size and location of any existing flaws. It’s an alternative to radiographic (X-ray) inspection methods that may require equipment shutdown and safety precautions.
ULTRASONIC SHEARWAVE FLAW DETECTION (UTSW)
Shear waves have a shorter wavelength and lower velocity than other types of ultrasonic waves. Shear Wave Ultrasound allows us to test areas at an angle to inspect welds and detect anomalies. Like Phased Array, it can be used to find cracks and flaws in new construction or existing process equipment.
BOLT TESTING
Sometimes it’s the little things that can turn into big hazards if they’re not monitored. Catastrophic failures have occurred due to poor management of bolted joints. While the part is small, the risk is great. There are many factors for failure of these components like corrosion, cracking, and stresses from over or under torqued connections. Utilizing advanced bolt testing and inspection techniques, we can evaluate bolts, shafts and studs without having to remove them to check for corrosion or cracking. During inspection, InServe can determine the extent of damage, quantify corrosion and identify cracking.
TUBE TESTING
Near Field Testing (NFT) is used to inspect the inside diameter of the tubing. This method of inspection is useful if the damage is expected to be on the tube side of the process. Using NFT it is possible to detect corrosion, erosion and pitting inside of ferromagnetic tubes. If a bundle has a lot of baffles or obstructions that cause loss of signal, this method proves useful since it is unaffected by external objects. This method is the preferred method for inspecting Fin Fan tube exchangers.
Eddy Current Testing (ECT) is a highly-versatile type of NDT inspection method that uses electromagnetic induction. Magnetic currents measure metal thickness, pinpoint corrosion, and identify small cracks. EC testing is capable of detecting surface and near surface defects on the inside diameter (ID) & outside diameter (OD) of non-ferromagnetic tubes. This is the preferred method for unobstructed stainless steel tube bundles.
Remote Field Testing (RFT) provides thickness inspection of ferromagnetic tubes. It can be useful to detect wall thinning and size areas of corrosion, erosion, and pitting on the inside diameter (ID) & outside diameter (OD) of tubes. This is the preferred method for unobstructed carbon steel tube bundles.
Internal Rotating Inspection System (IRIS) is a type of ultrasonic thickness testing that can be utilized on both ferromagnetic and non-ferromagnetic material. The advantage of IRIS is that you can give a more precise thickness measurement as opposed to ECT, NFT, or RFT. IRIS can detect and size wall loss resulting from corrosion, erosion, tube-to-tube wear/fretting or pitting. It can also detect cracking. IRIS is often used to prove up an ECT finding to better quantify damage. While IRIS is a very versatile tool for inspection, keep in mind that it requires access to a water source, is more time consuming, and tubes must be significantly cleaned in order to gather accurate data.
These methods are the most widely-used NDE/NDT Inspection methods for inspecting shell and tube heat exchangers. InServe provides current technologies and exceptional training to provide accurate data and allow our technicians to confidently inspect and report during tubing inspections.
RADIOGRAPHIC EXAMINATION (RT)
This testing method uses either x-rays or gamma rays to dive beneath the surface and find flaws based on how the material scatters or absorbs wavelengths. It reveals both surface and subsurface defects and provides documented evidence of even complex structures. Industries like aerospace, military defense, waste management, automotive, and oil and gas use radiographic examination to check for corrosion, thickness changes, material density, and cracks or defects. X-ray is a useful non-destructive method that you will find necessary to ensure quality of your capital projects and to determine current integrity state of existing equipment. The use of X-ray is tried and true. Profile X-ray (PRT) is useful to survey the condition of most sizes of insulated piping without having to remove the insulation increasing safety and savings to our client.
For most, Xray is still the preferred method of inspecting welded metal construction and is used to detect flaws outside of code tolerances.
MAGNETIC FLUX LEAKAGE (MFL)
MFL is the most widely used and common form of volumetric testing of tank bottom soil-side corrosion. As technology ever improves, so does integrity testing equipment. Experts check storage tank floors and pipeline by magnetizing the steel with a powerful magnet, then analyzing the results. Basically, if there’s corroded or missing metal, the magnetic field seeps out through pits and grooves. If variations occur, the technician can presume that corrosion/erosion is located underneath the instrument. These areas of pitting or grooves are then verified using ultrasonic thickness testing. MFL can quickly and accurately survey your Tank Bottom to identify potential locations of corrosion. This type of volumetric screening is very cost-effective and when combined with single point thickness follow-up, results in a very high confidence overall inspection.
AUTOMATIC ULTRASONIC THICKNESS TESTING (AUT)
Equipment like storage tanks, piping, and pressure vessels need regular inspection to check for corrosion, hydrogen blisters, , and erosion. AUT is one of the best methods of Volumetric testing to achieve Quantitative results. AUT can provide as good a picture of your assets internal surface as can be achieved outside of a Visual Internal Inspection. AUT is often used when widely scattered isolated pitting corrosion is expected as well as to perform On-Stream in lieu of Visual Internal Inspections when the code and procedure allow. AUT has proven to be a huge cost saver to clients because of its reliability, quality of data, ease of access, and completeness of inspection.
AUT can provide thousands of readings in a small area giving you a clear picture of the surface below. When you know the rate at which corrosion or deterioration is taking place, you can more effectively plan for maintenance and/or replacement.
ELECTRO MAGNETIC ACOUSTIC TRANSDUCER (EMAT)
EMAT is another form of NDE that uses magnetism to detect corrosion. One of the major benefits of EMAT is that a very large area, up to 15’x2’ can be inspected at once. This volumetric form of NDE gives the client a percentage of potential wall loss that can then be proved up by Ultrasonic Thickness Testing. This method saves the client both time and money by increasing the inspection confidence and decreasing the time needed to perform this inspection. EMAT is the preferred method for underground (UG) pipe survey and weld detection.
ELECTRO-MAGNETIC ALTERNATING CURRENT TESTING (ACFM)
This NDT/NDE Inspection method is the only one that allows the use of ultrasonic waves without the need of an ultrasonic coupling gel. ACFM is unique because it not only detects a flaw or crack but it will size it automatically. This method is advantageous because it requires very little surface prep and it allows experts to inspect for cracking even through coatings and corrosion.
NEUTRON BACKSCATTER
Neutron Backscatter uses a radioactive source to transmit high-energy neutrons throughout insulation and identify moisture. Moisture causes corrosion under insulation (CUI), so it’s always best to find and eliminate it. This screening tool creates a relatively quick and accurate method to identify areas that need to be stripped for CUI inspections. With extendable probes, elevated areas can be screened before spending significant resources on scaffolding and/or rope access. Neutron backscatter also allows inspectors to measure liquid levels through vessel walls.
POSITIVE MATERIAL IDENTIFICATION
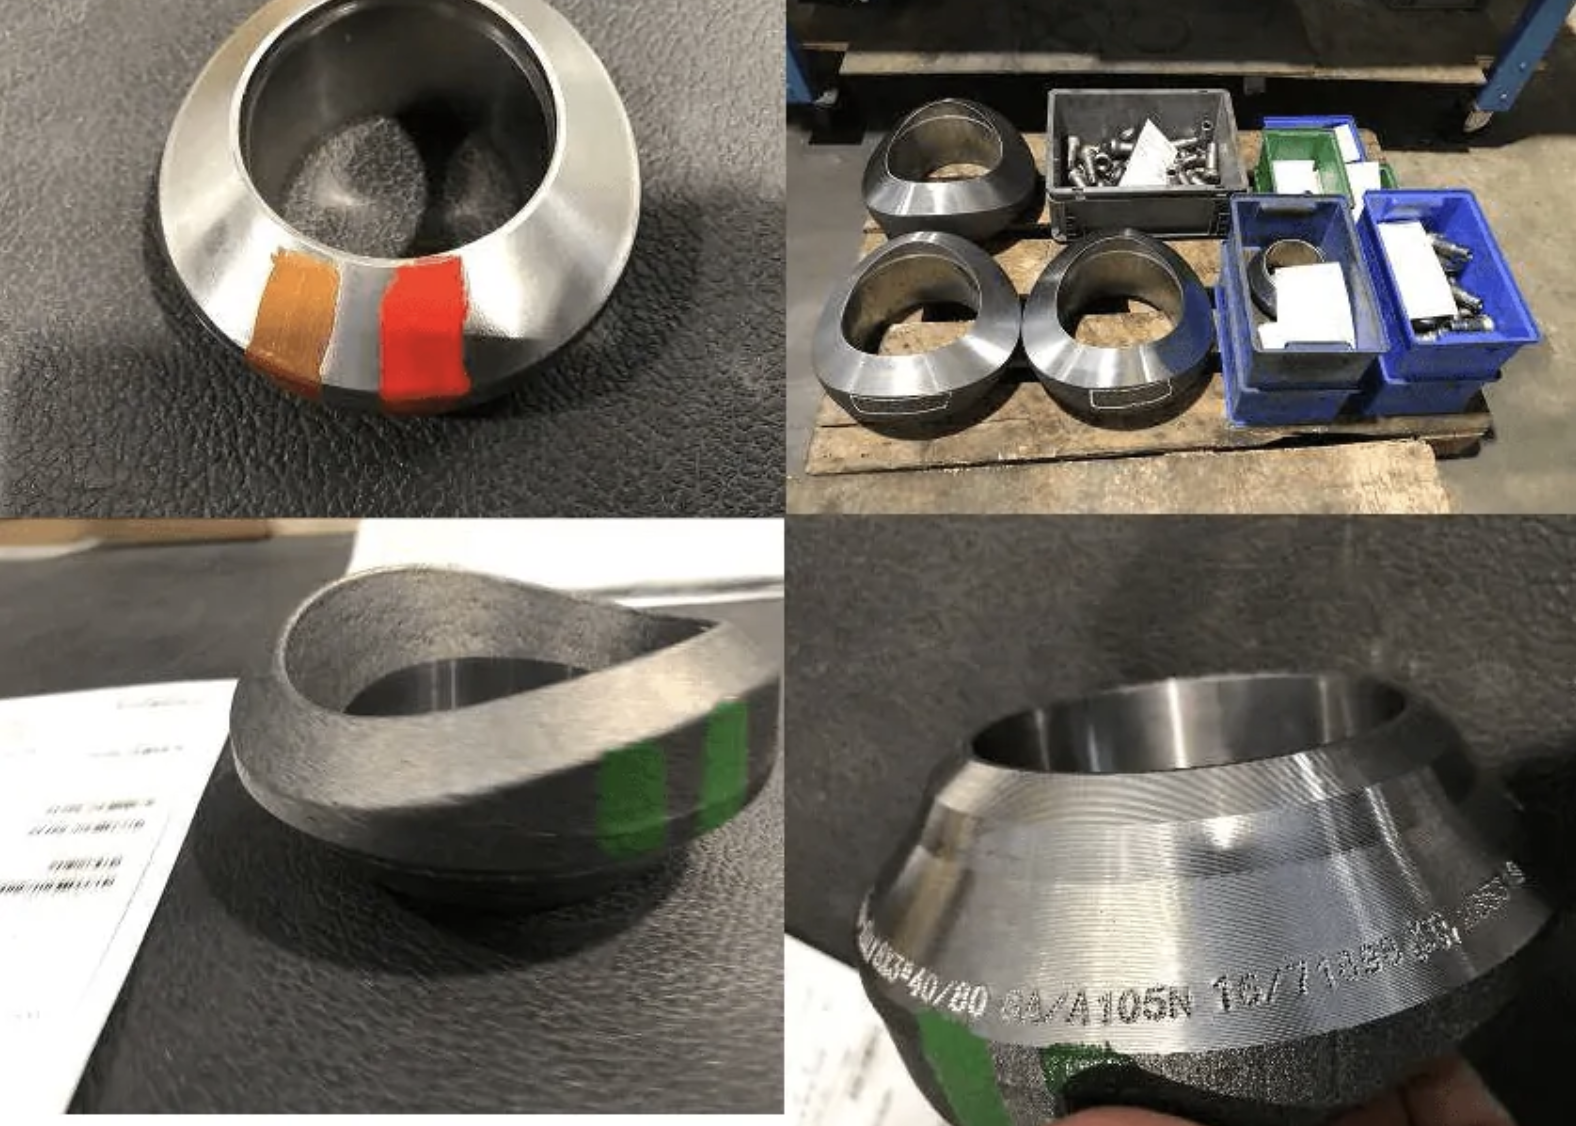
Identifying the composition of component and material is crucial in the Inspection world. Just as the Titanic was built from the wrong material, Mechanical Integrity of assets depends on using the correct materials. Designs are built from assumptions and calculations concerning the resistance of materials. Cracking and corrosion rates can be highly modified and place equipment at risk of critical failure and put in jeopardy the operations of the facility, without mentioning lives and environmental impact. Positive Material Identification will provide a semi-quantitative alloy composition of an asset. Two techniques are available on the market; X-ray Fluorescence (XRF) and Optimal Emission Spectroscopy (OES). While the previous is most common, the latter has the capacity to detect the carbon composition of a material.
Positive Material Identification (PMI) ensures the materials you receive conform to standards and specifications. Make sure materials have been manufactured with the correct alloy, identify mix-ups, and ensure compliance with consumer and industry standards. PMI is the preferred method for incoming parts material verification, retroactive metallurgy verification and weld vendor surveillance to ensure proper materials were used. You can view a comprehensive list of the services we offer HERE.
SCHEDULE NDE/NDT INSPECTION
InServe Mechanical Integrity Group technicians are certified in multiple disciplines so we can provide you with the most efficient inspection methods. We have knowledgeable staff standing by to consult with you and help provide you with the right solution to your NDE/NDT challenges. Schedule a consultation with one of our experts online today.


